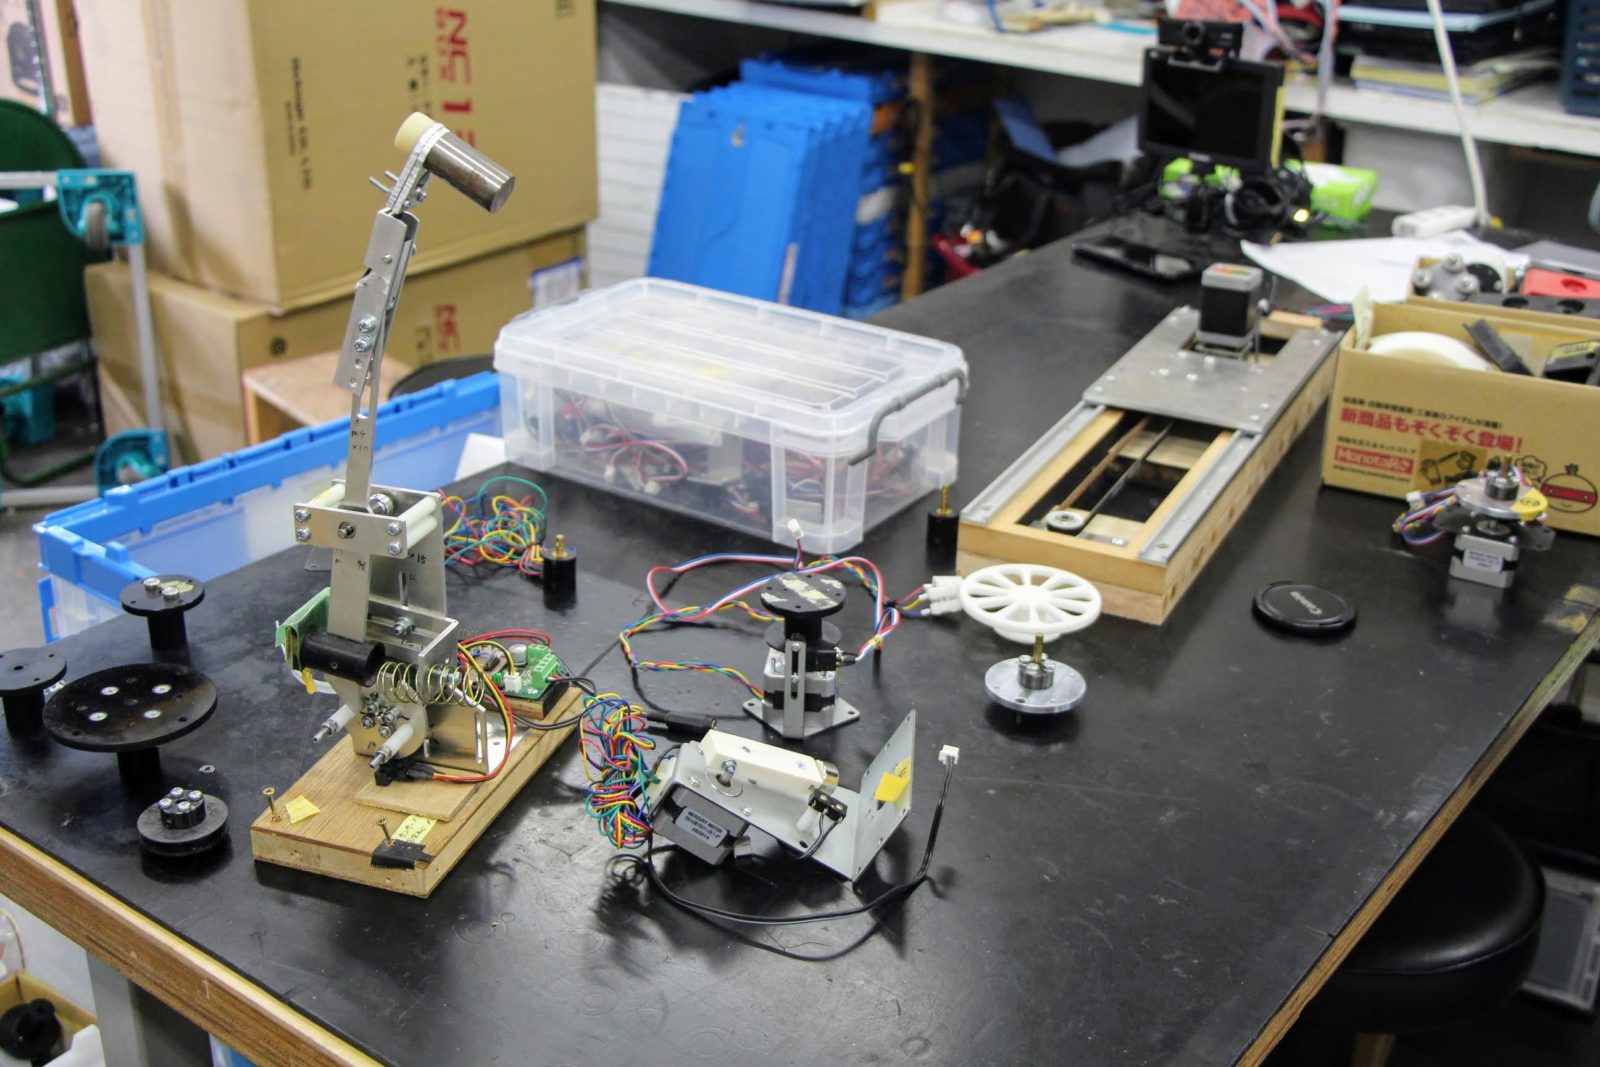
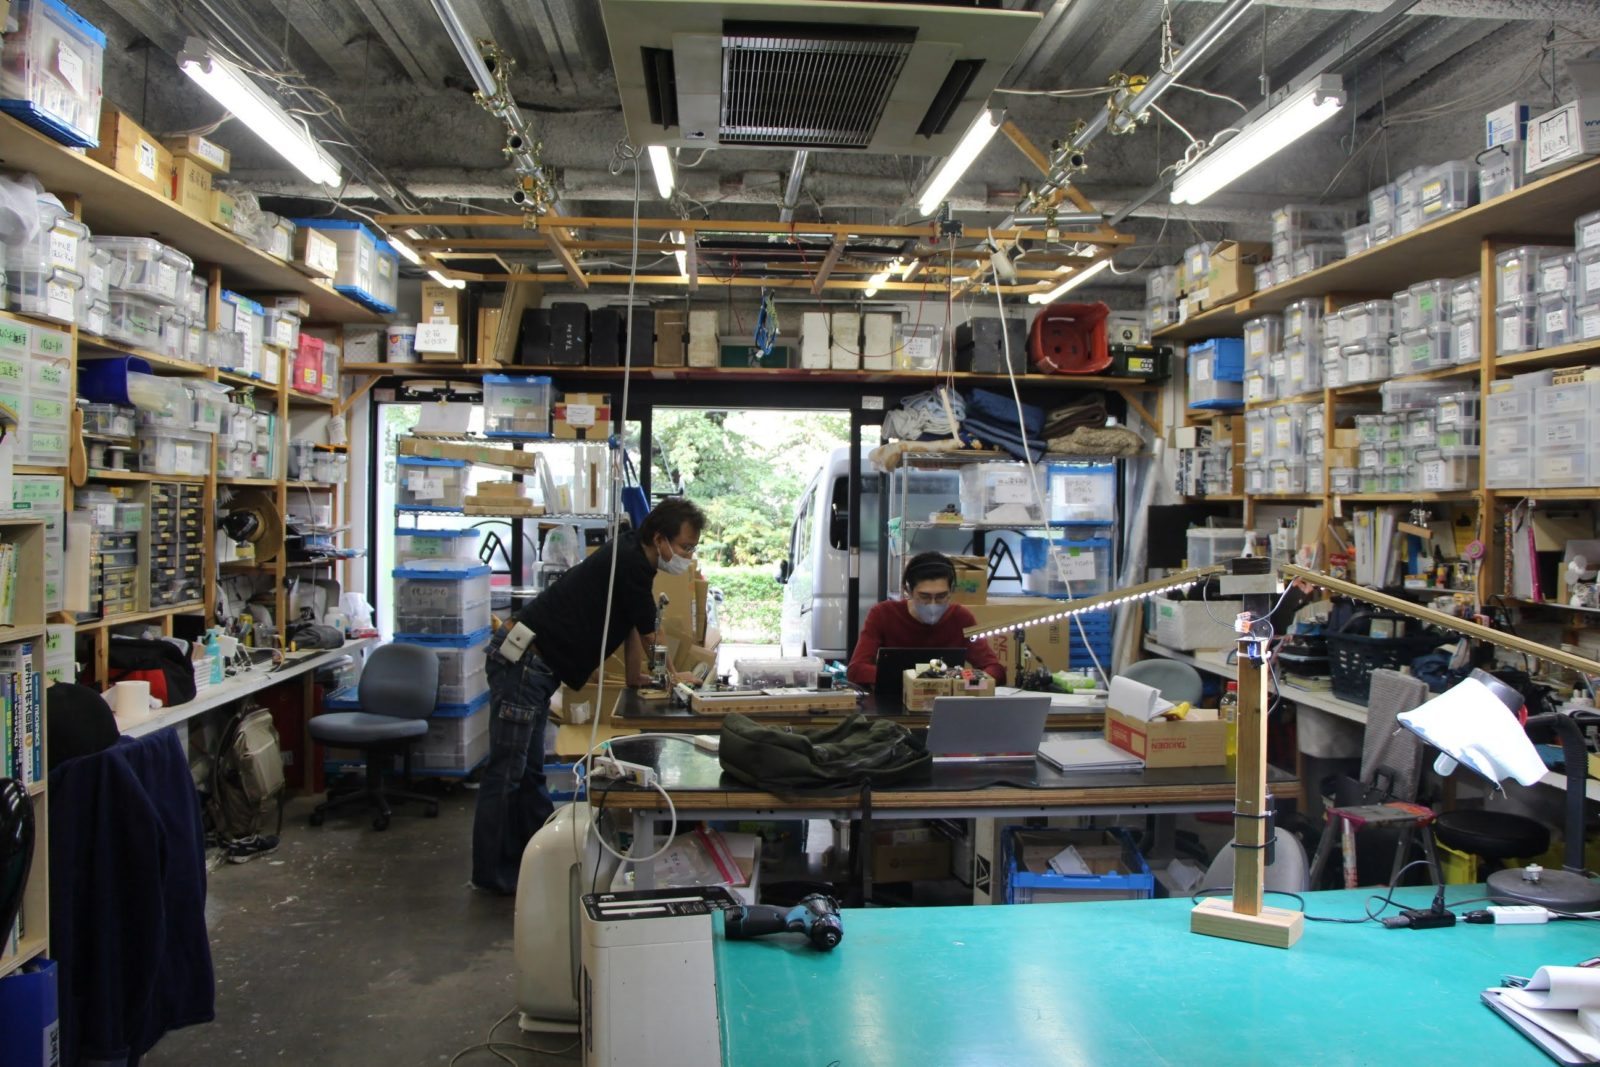
I recount my visit to TASKO, a company that makes a lot of machines for exhibitions, theatrical performances and video filming. They showed us various ways to incorporate stepper motors into practical mechanisms. Getting into the mechanics part presents a different kind of difficulty from electronics or programming. In this post, I'd like to show you what happens next, after making the motor spin.
TASKO is one of our biggest collaborators, and STEP400 and STEP800 are primarily the result of our work with them. I’ll tell you more about projects with stepper motors we created together another time.
Attachment To The Motor Shaft
Parts For Models
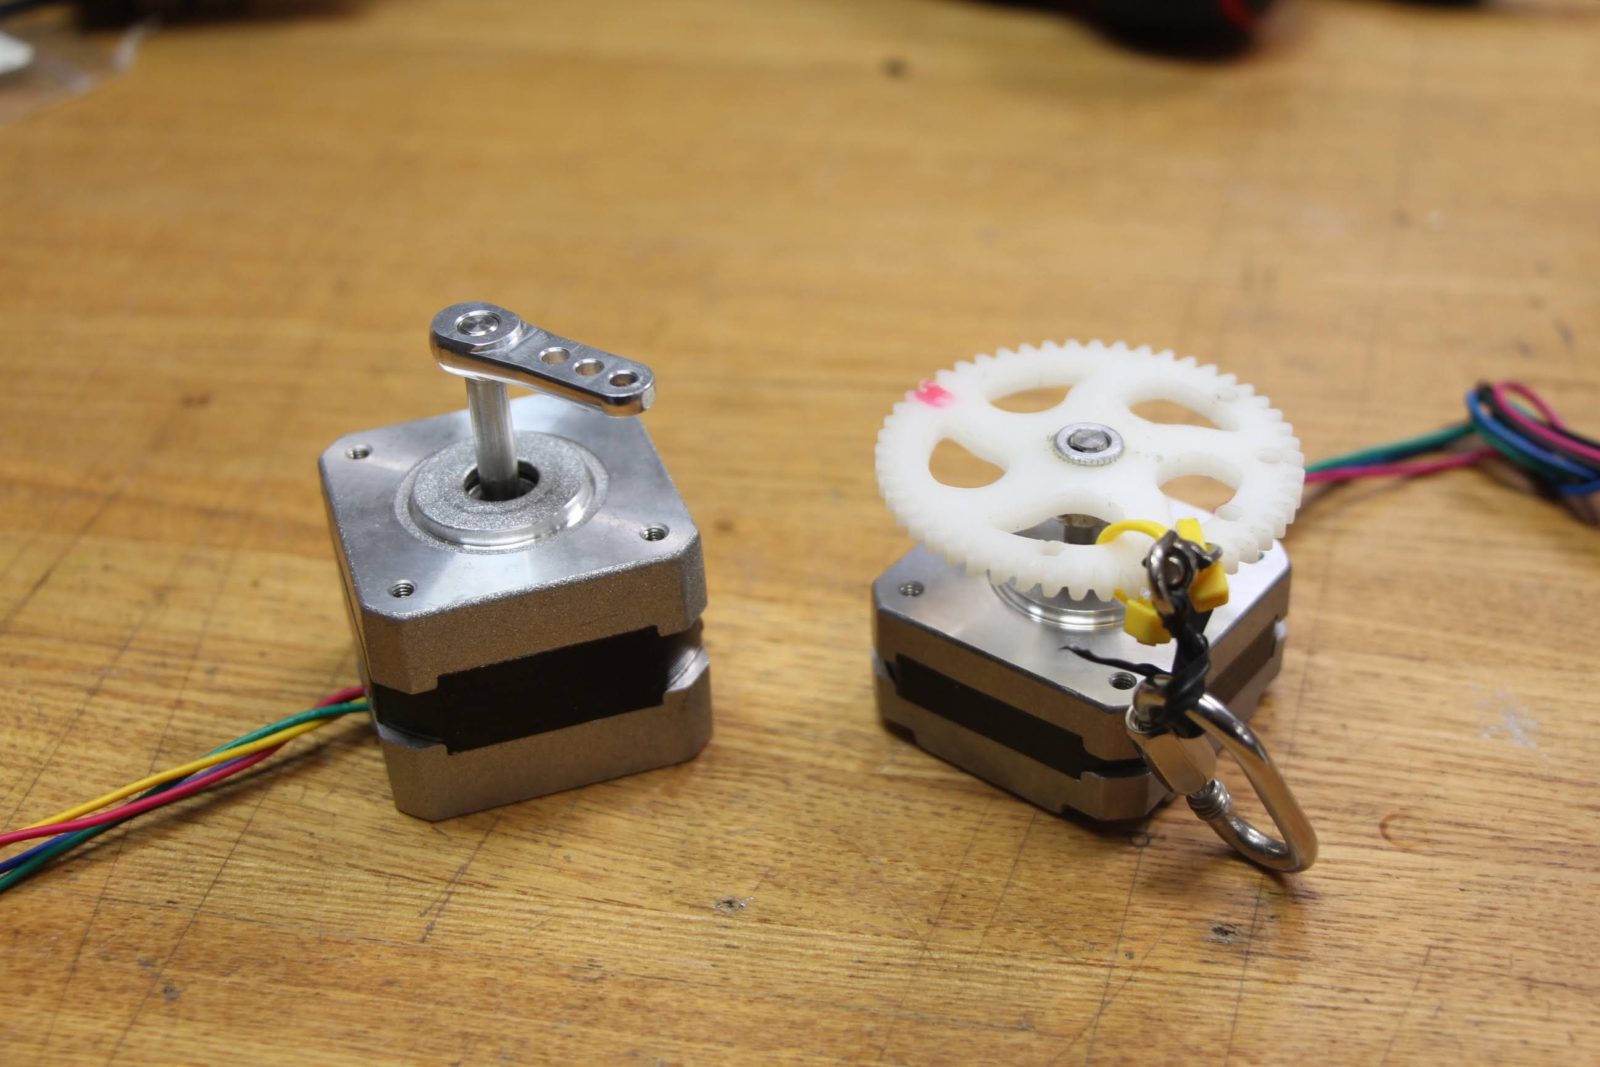
What kind of things can be attached to the motor shaft?
Most NEMA 17 size stepper motors have a 5mm diameter shaft, so I often use model parts that fit this dimension.
In Tokyo where I live, there happens to be several stores in the Electric Town that sell many of these parts, but the availability of model parts may vary a lot by region.
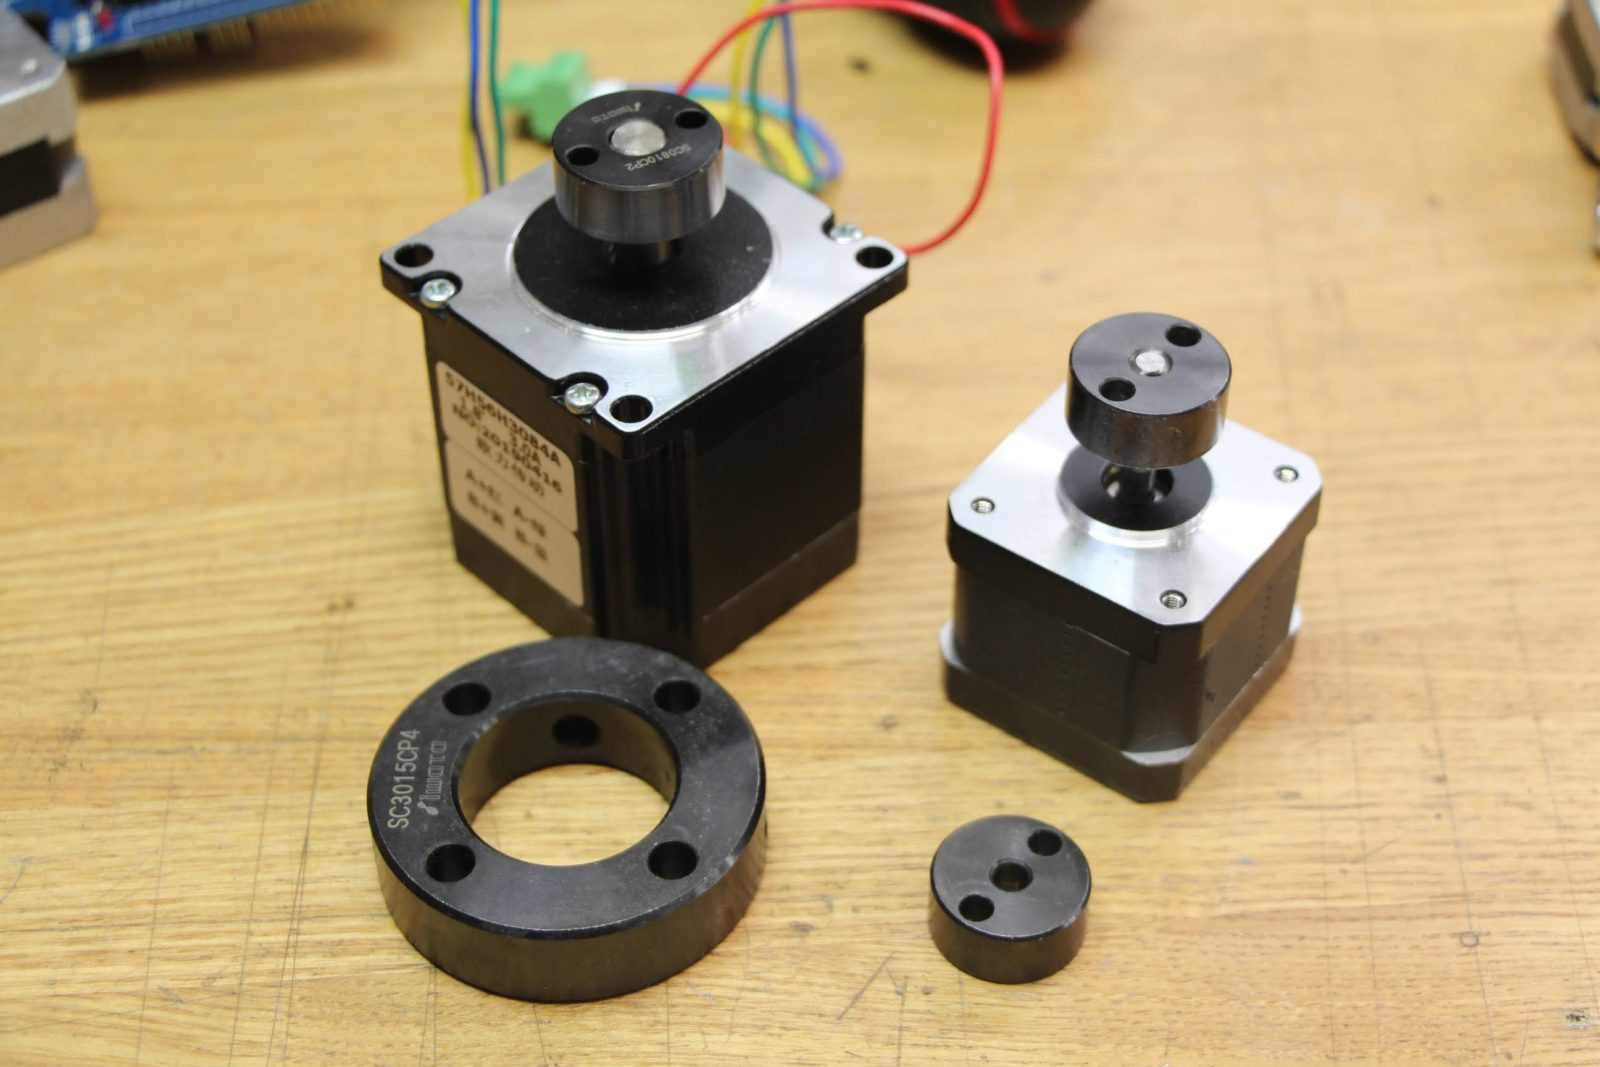
Shaft Collar
This one is more readily available because it is an industrial product. These parts can be secured by tightening the shaft with a screw, and the type with a screw hole can be used in a variety of applications.
TASKO showed me various examples of work using shaft collars.
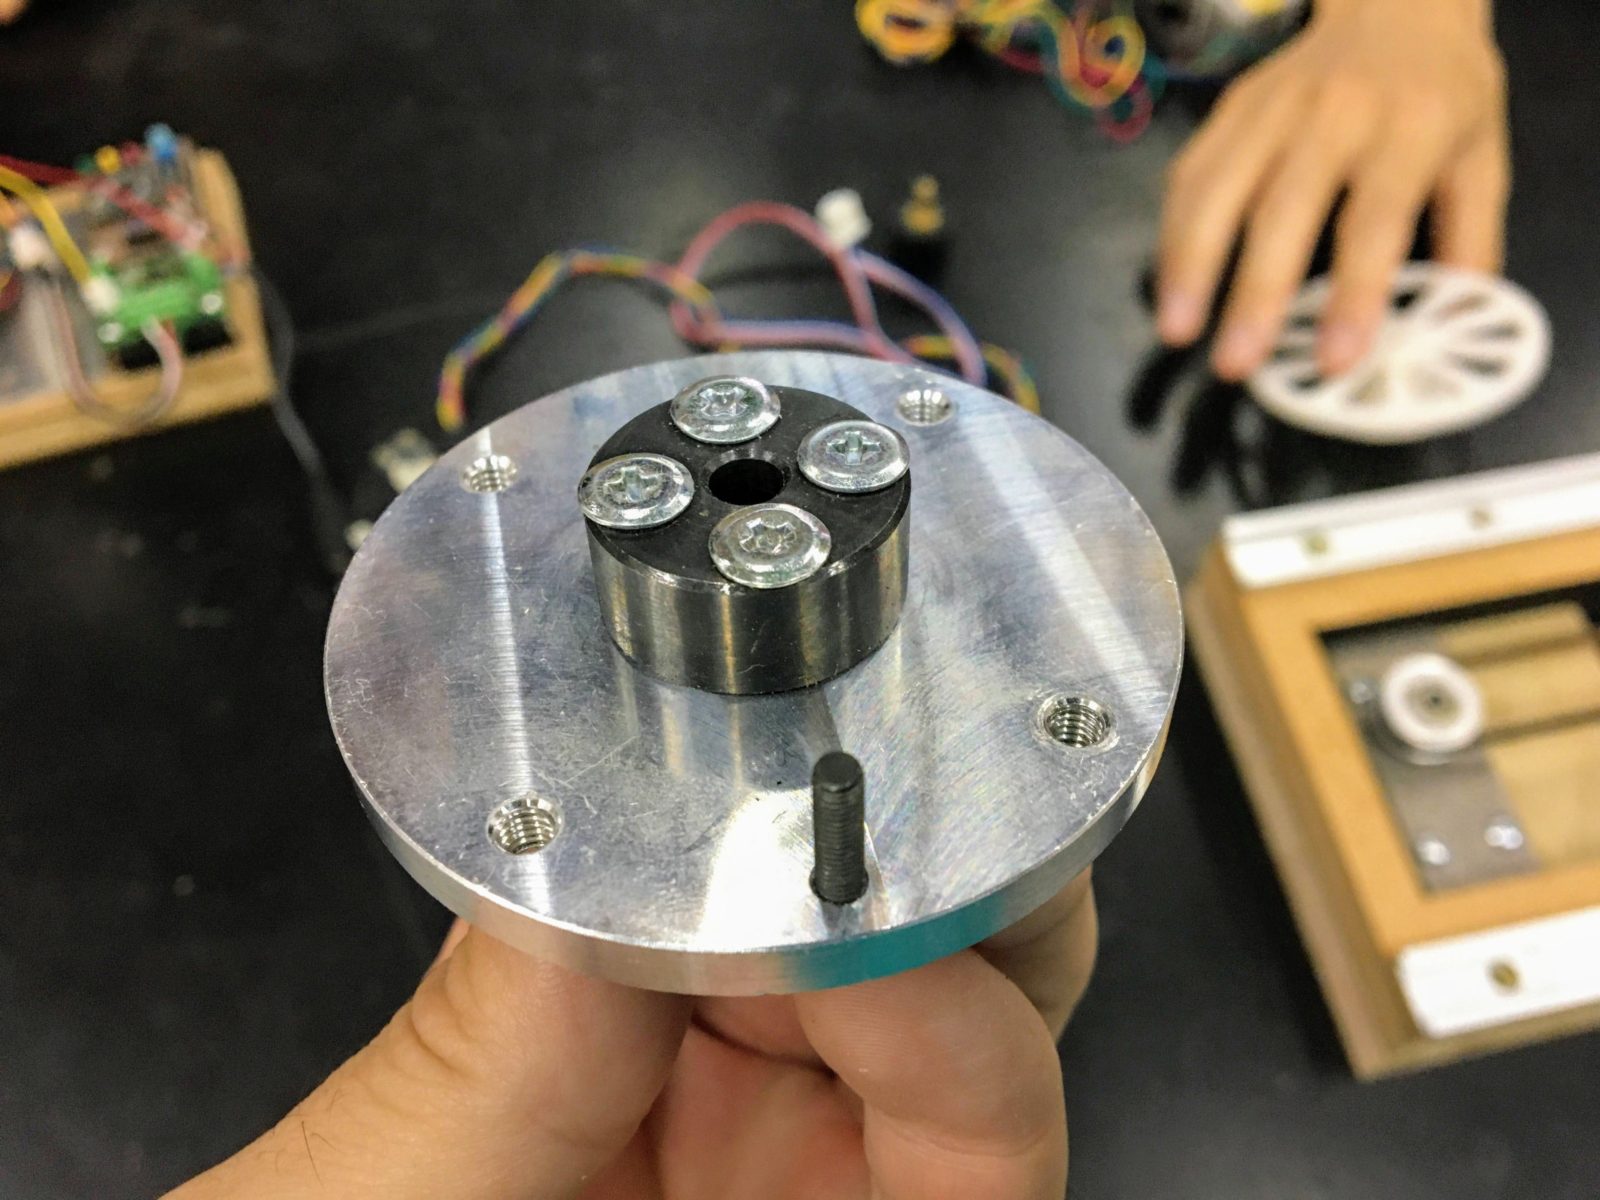
On the left, a table made of aluminum is attached to it, making it a versatile component. The strange object on the right was used to make things vibrate.
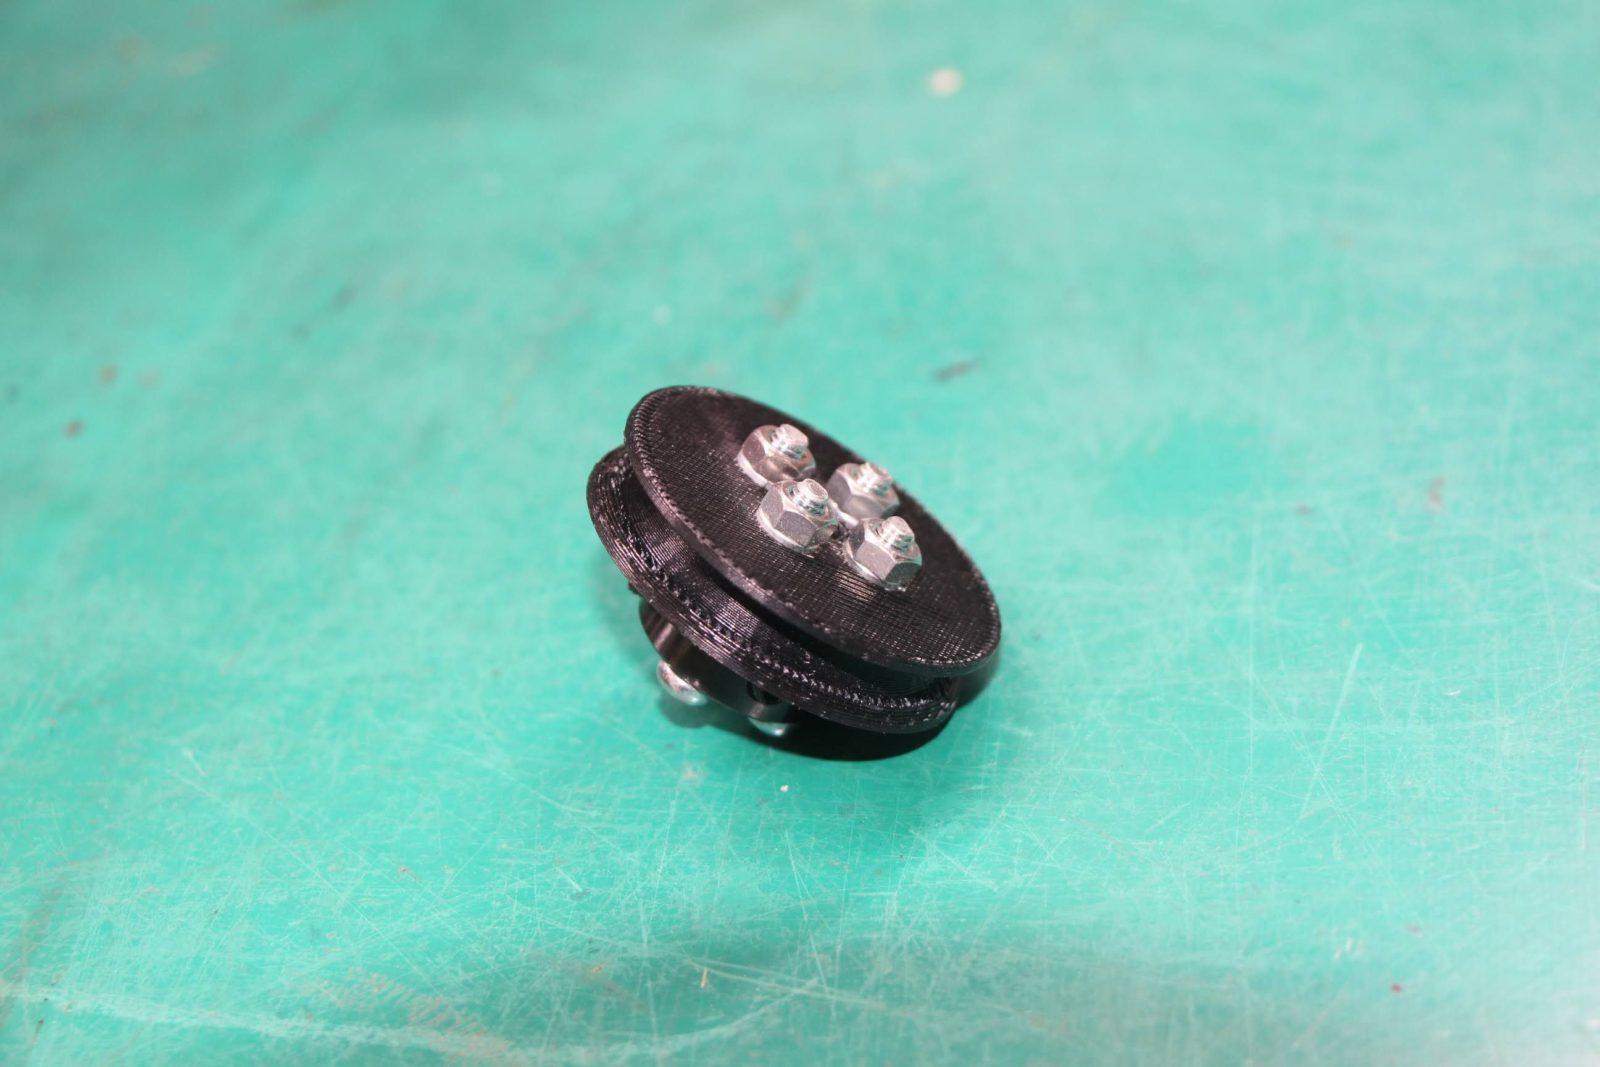
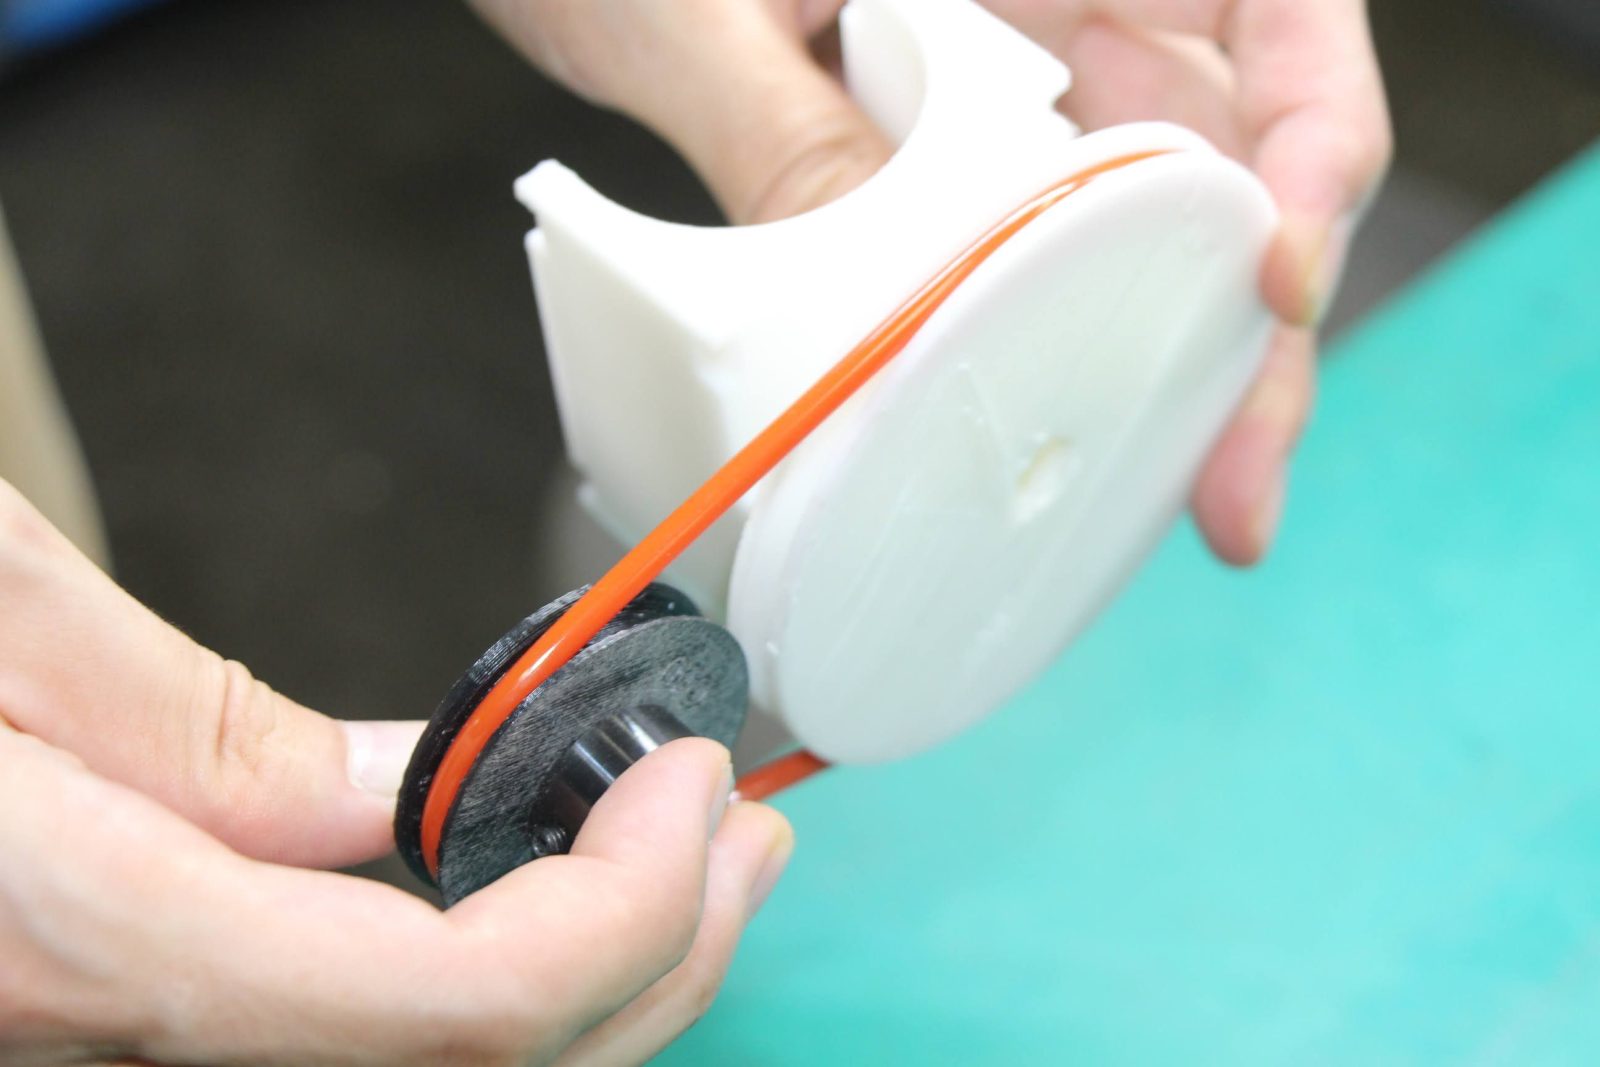
A pulley for a round belt is attached. The part on the right is for a scaffolding tube.
Milled Parts
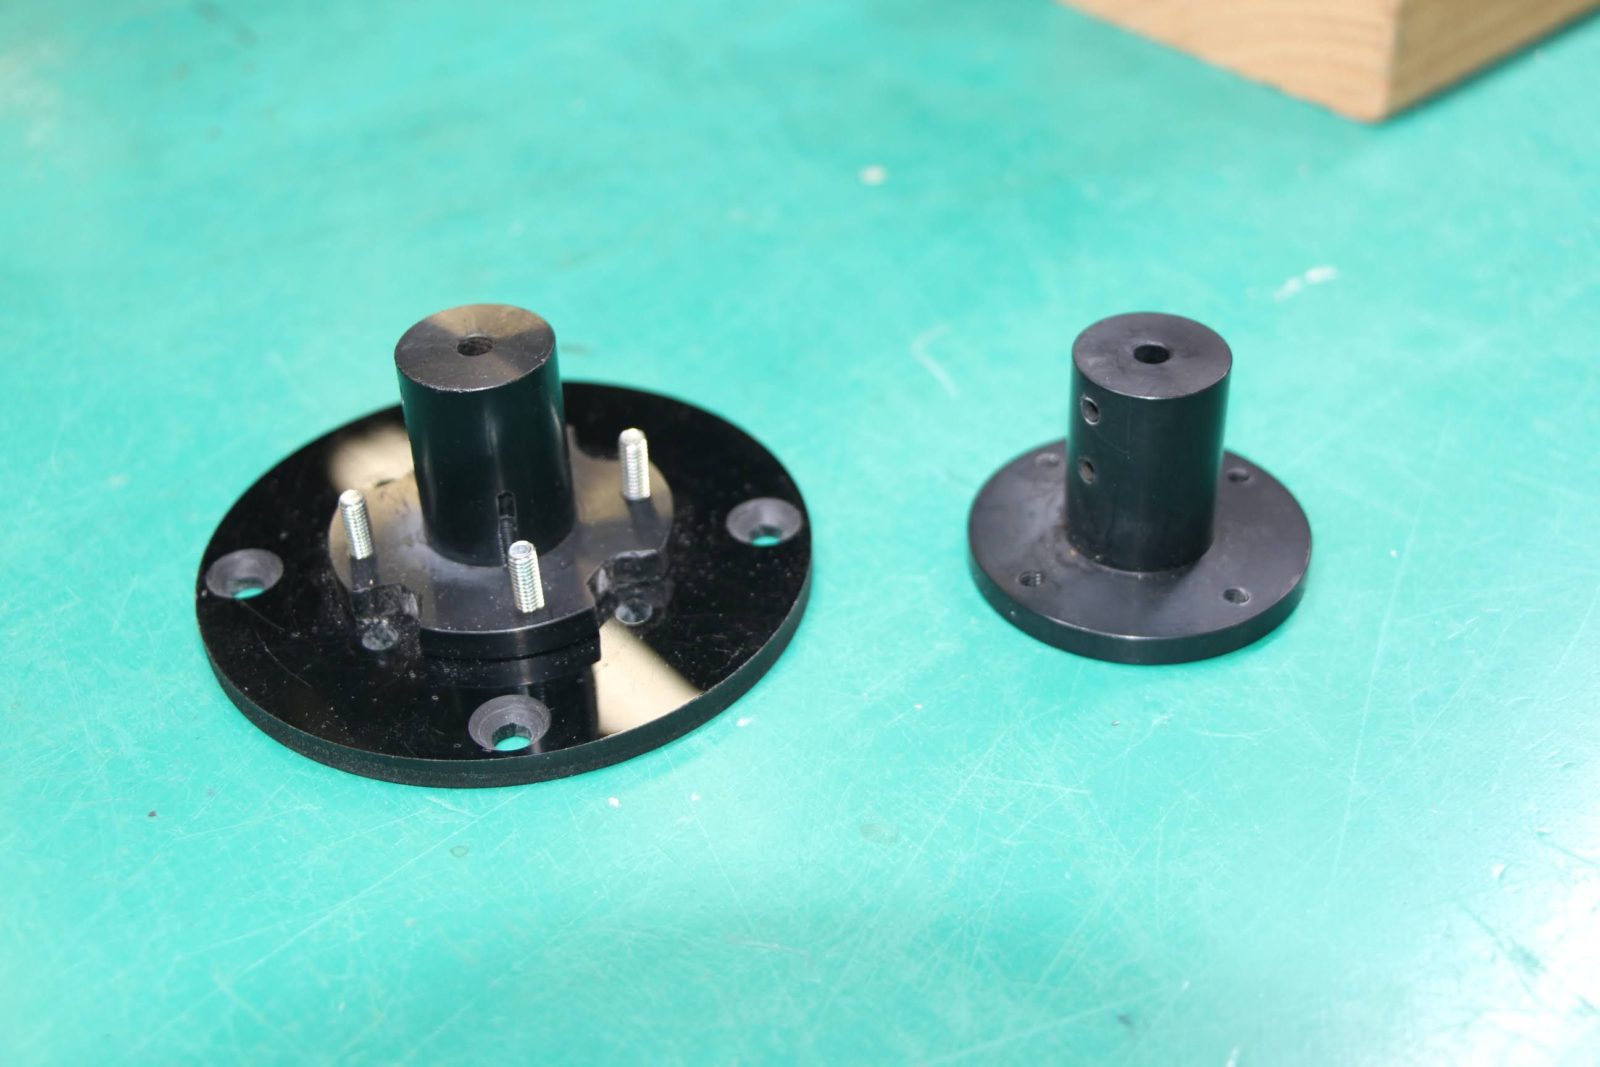
Parts made from cutting resin seem to be precise and easy to use. Machining is a field that may not be easy for amateurs to handle, but the structure on the right, where a slit is made in the resin and tightened, is simple and can be used in various ways. If you have a saw and a drill with wood bits, you can make the same mechanism. A neodymium magnet was attached to the tip of the resin, becoming a device to move objects from behind the plate.
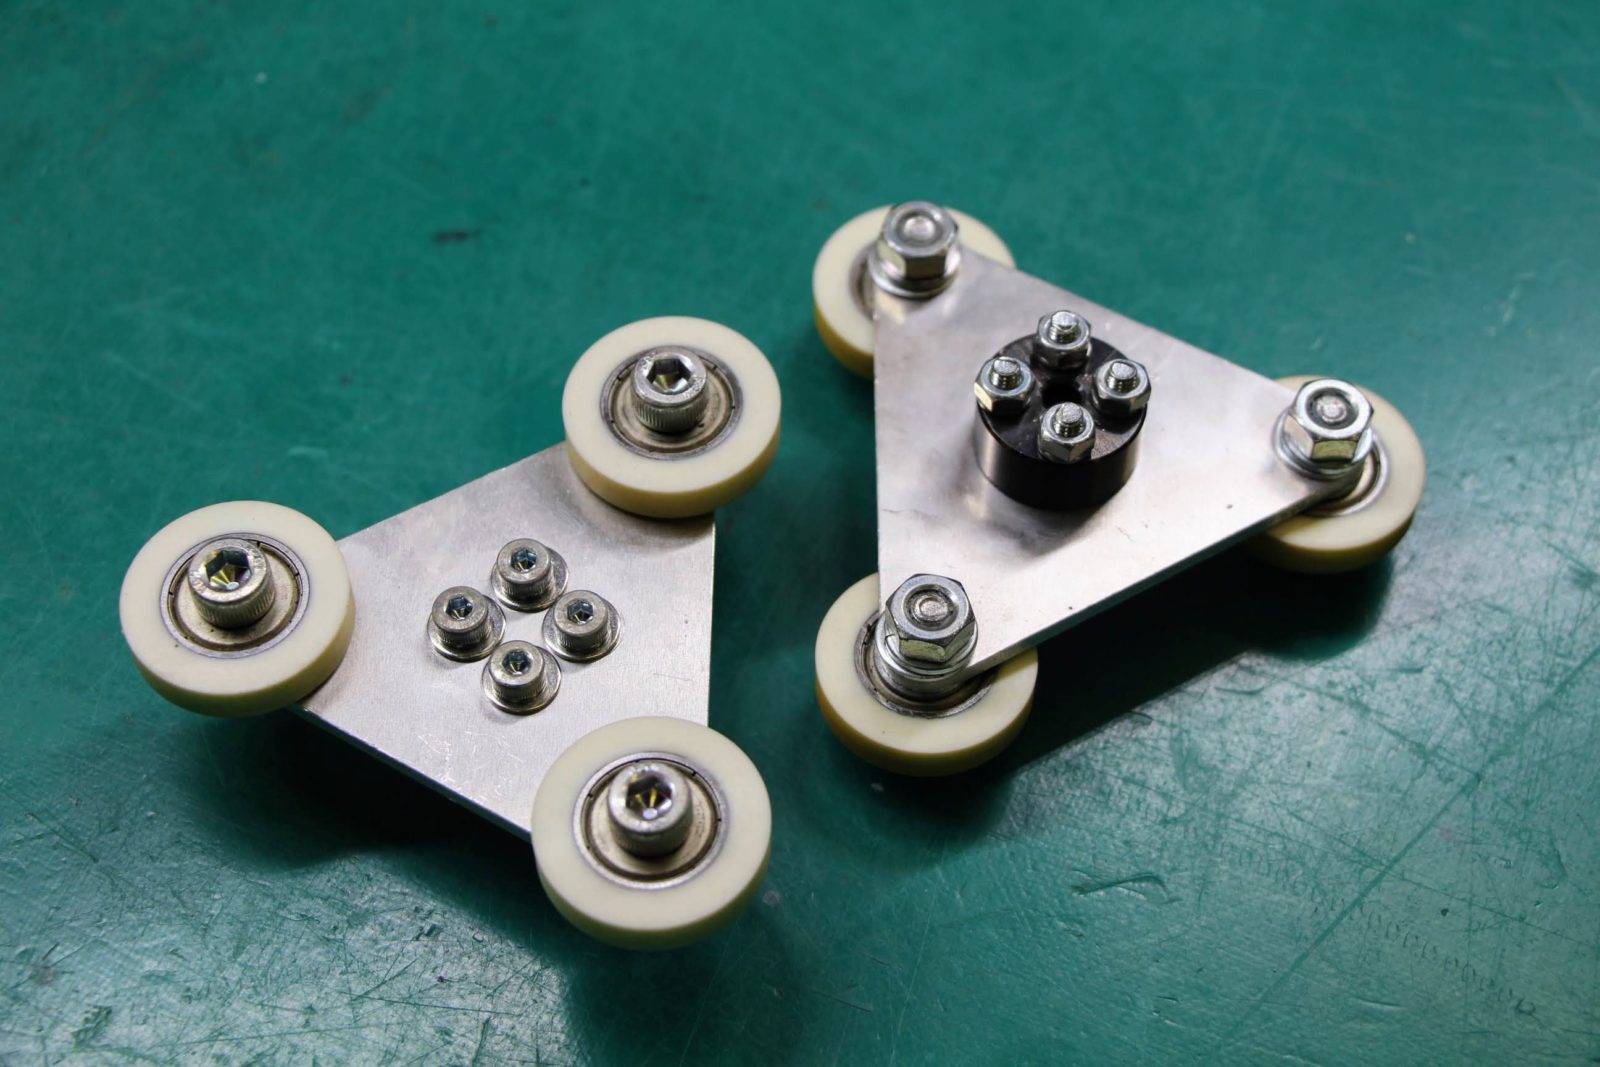
3D Printing
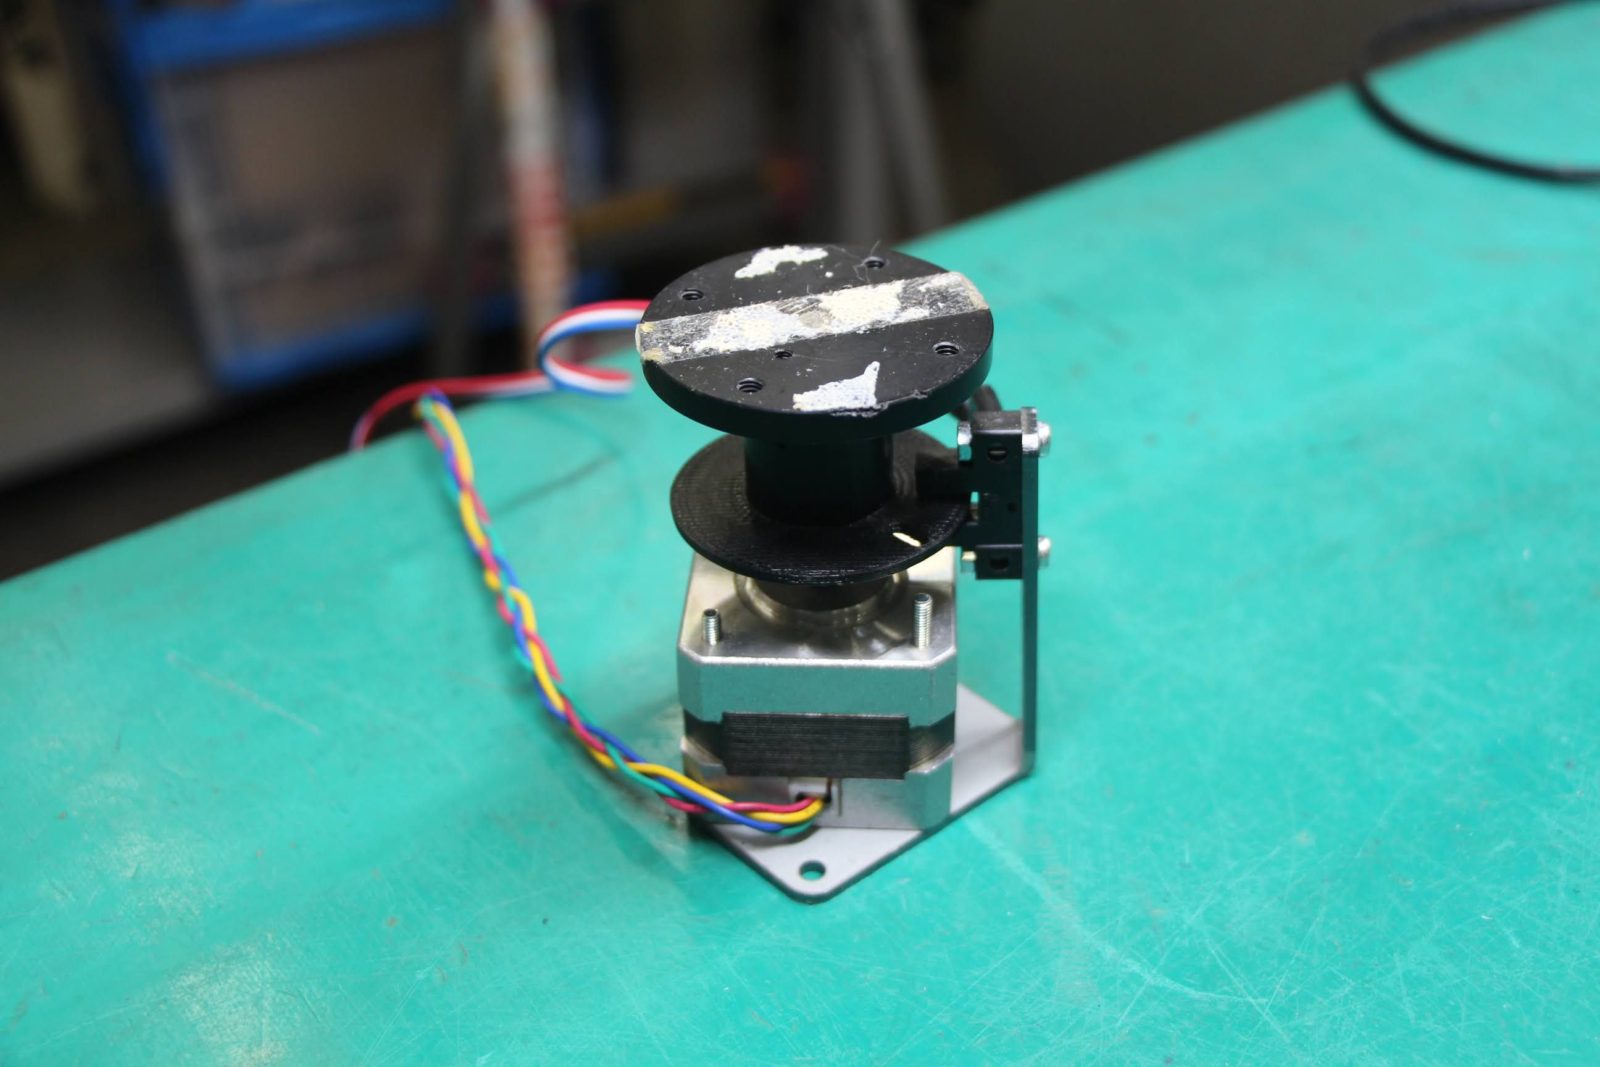
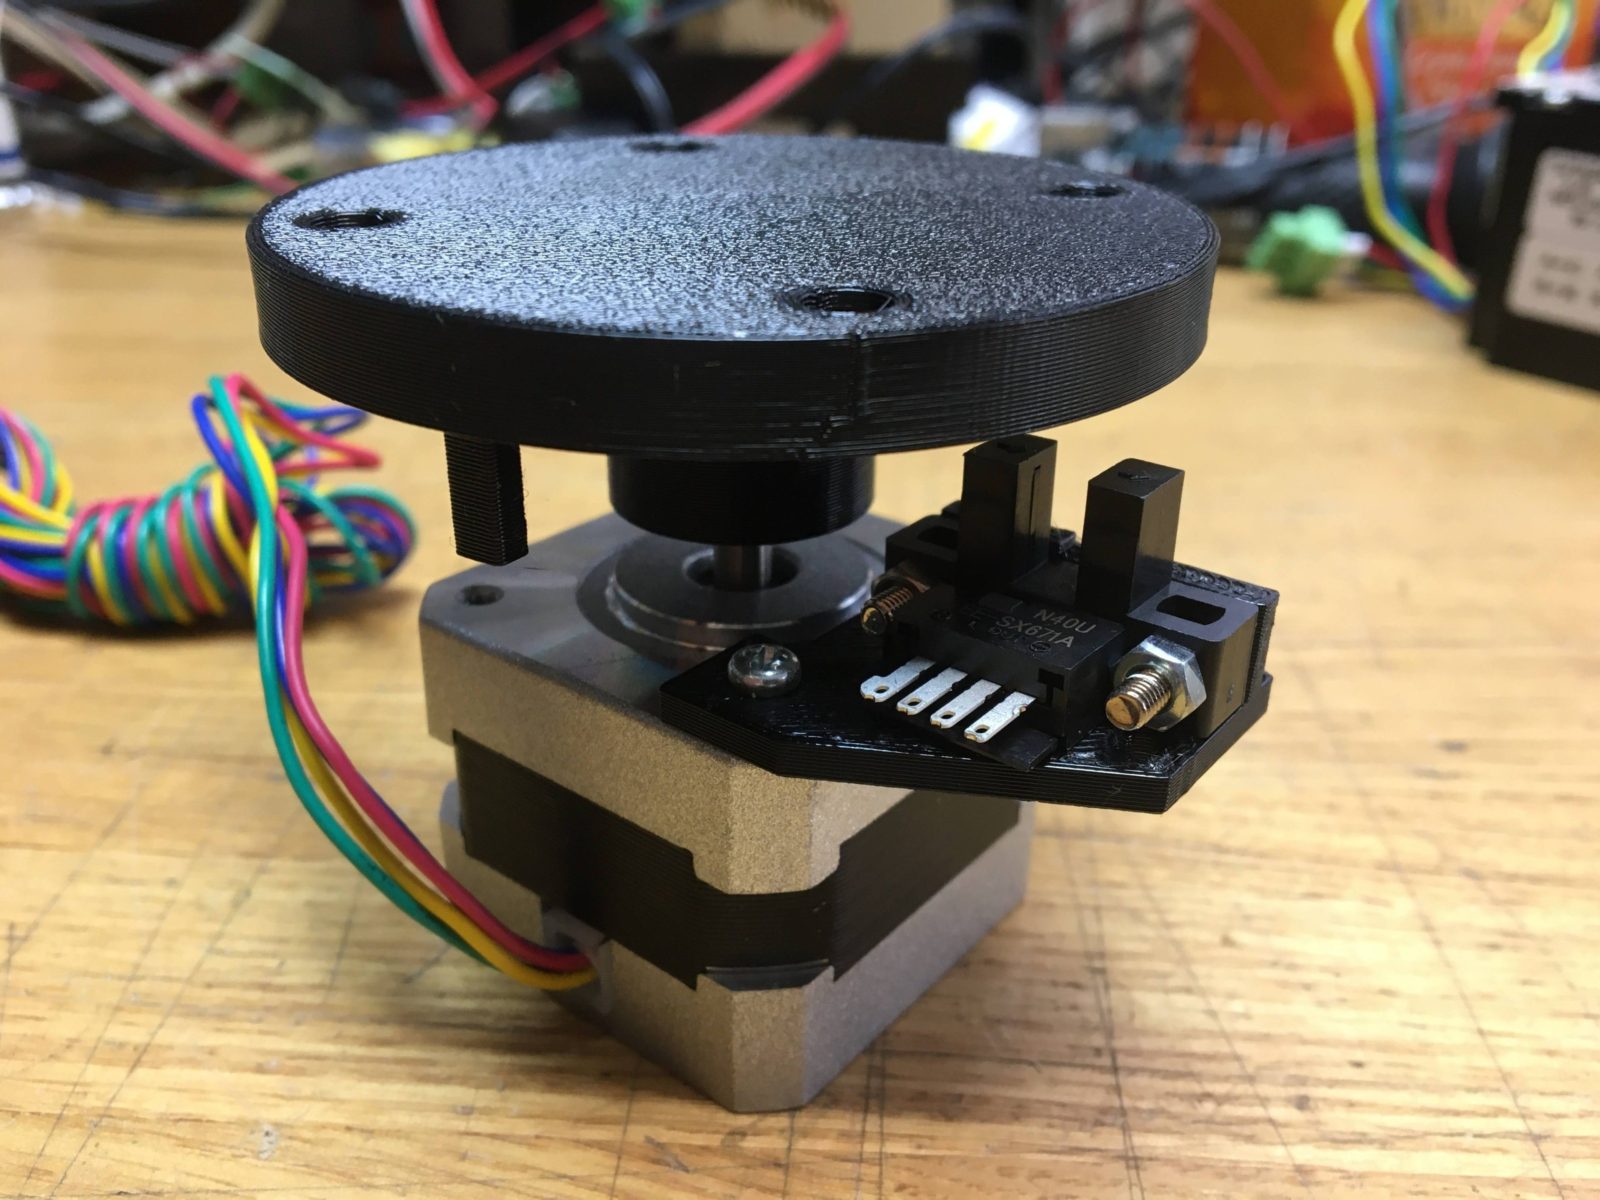
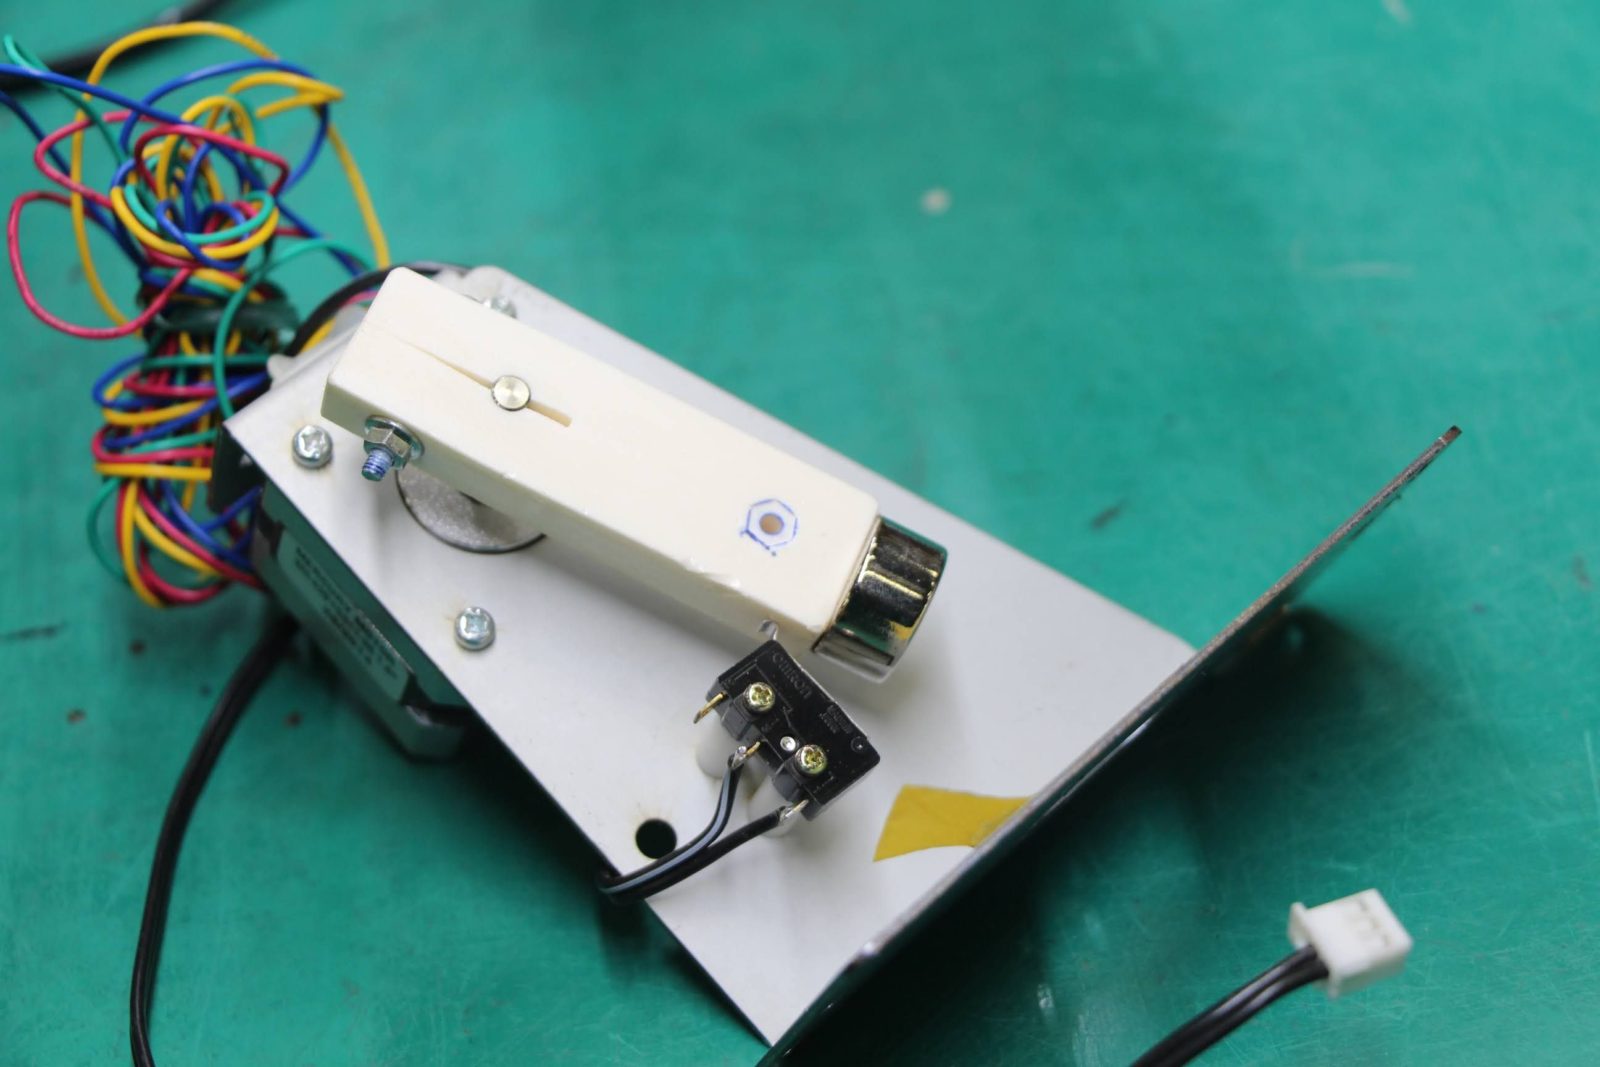
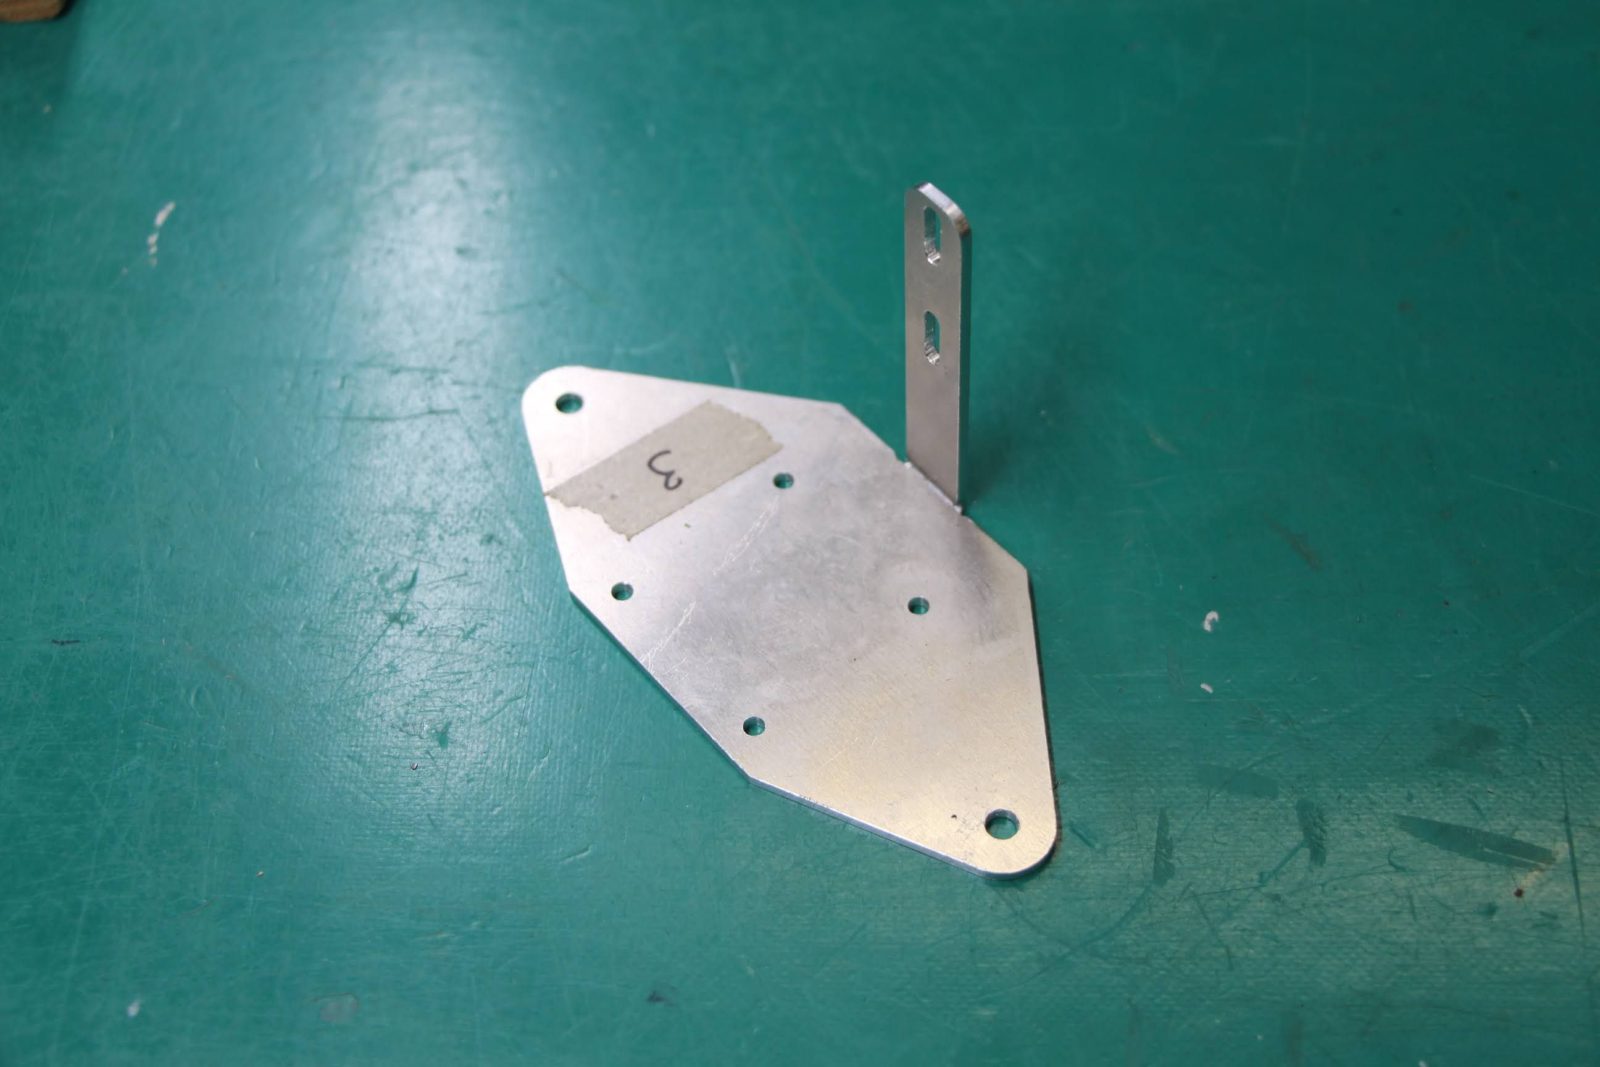
On the left side is a 3D-printed part with a slit for a sensor, which is used in combination with a base made of custom-made metal plate. On the right side is a component that we designed based on TASKO parts so that we can experiment with 3D-printed parts. It can be attached to an OMRON EE-SX671A as a home sensor. The shaft and table can be locked with a M3 square nut and a set screw. You can download 3D data here:
The size of the shaft holes may need to be adjusted to match the accuracy of the 3D printer.
Mounting a Motor
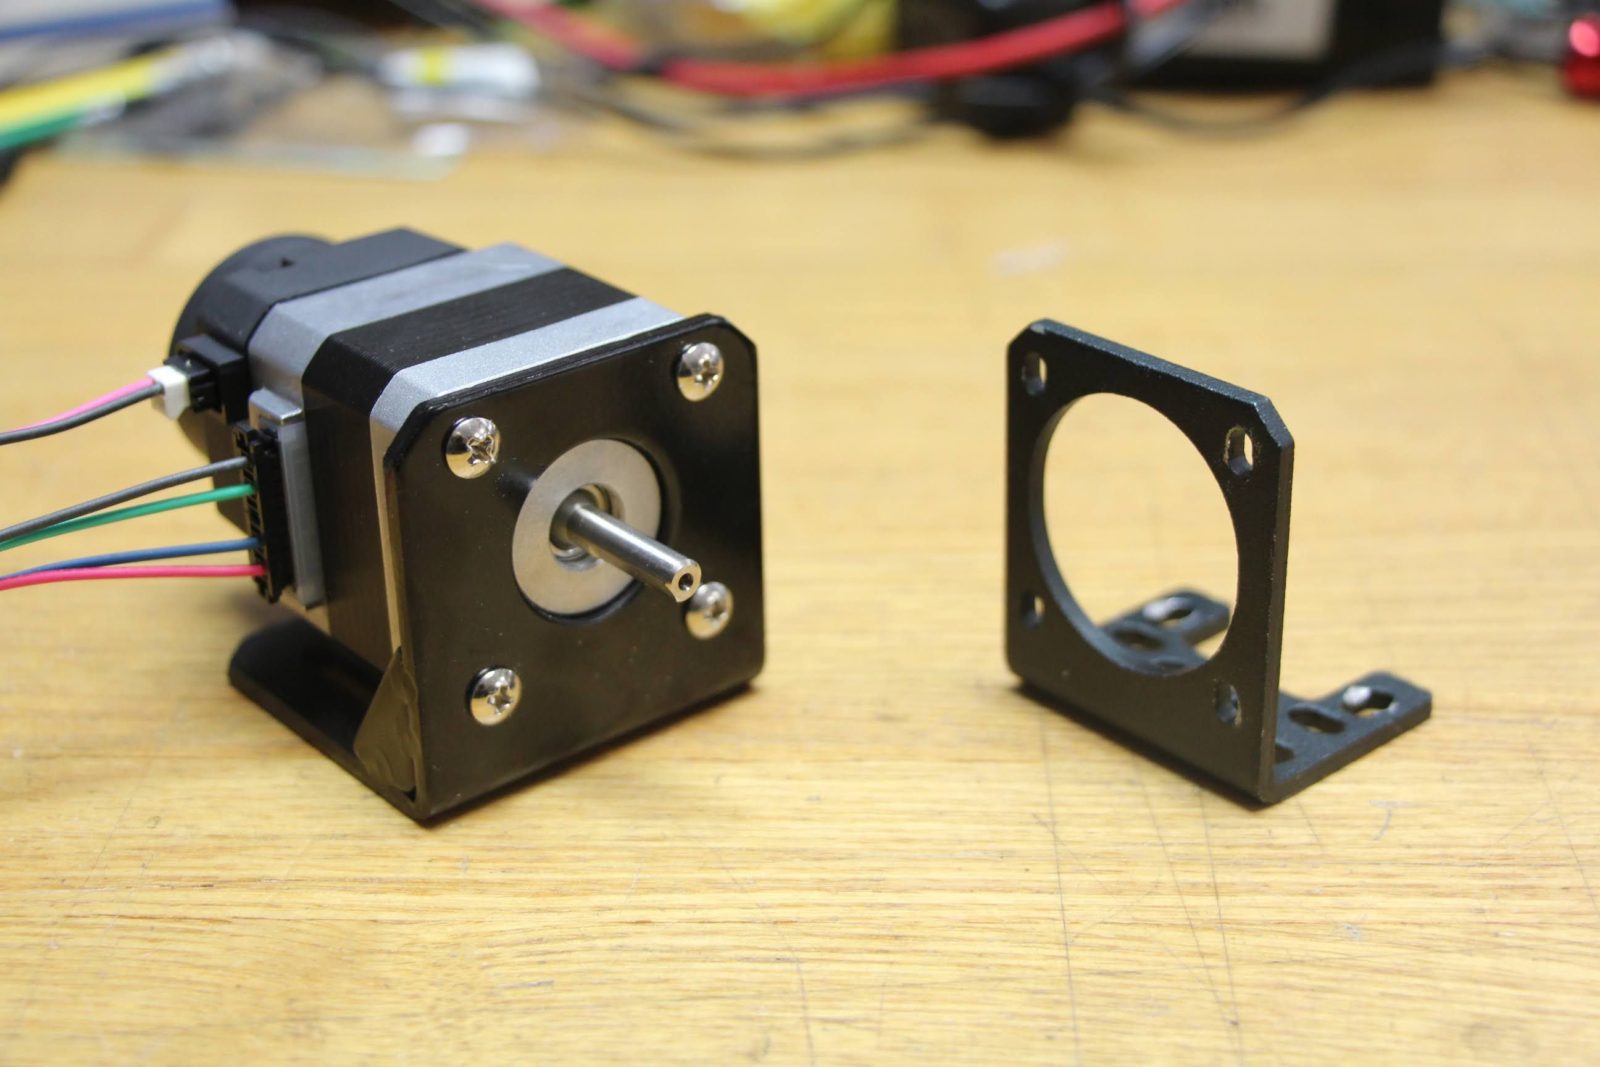
The screw holes for mounting a stepper motor are located on the surface where the motor shaft protrudes, and it is quite a hassle to mount on them. But brackets for the motor have recently become available.
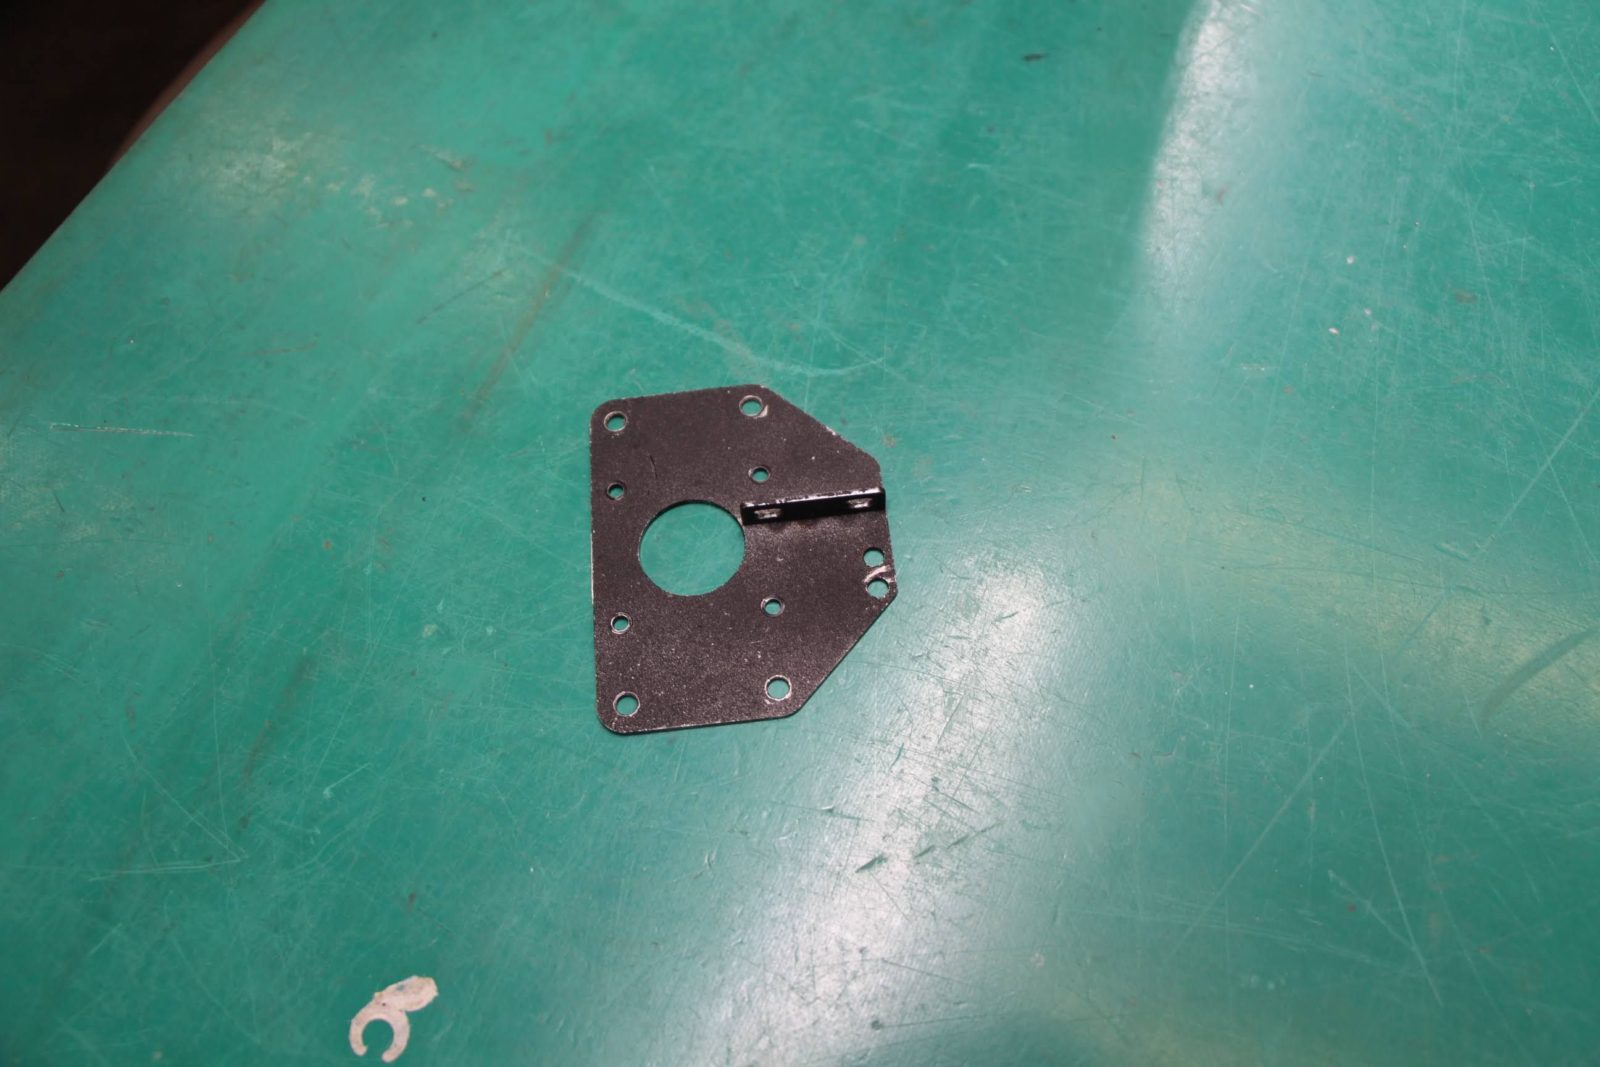
TASKO has also made a number of different types of hardware to be combined with homing sensors.