Compiling the Arduino sketch
Compiling Arduino sketch
Because the main control unit (MCU) is an Arduino Zero, the firmware is actually an Arduino sketch. This means uploading the firmware is done using the Arduino IDE or PlatformIO in VSCode.
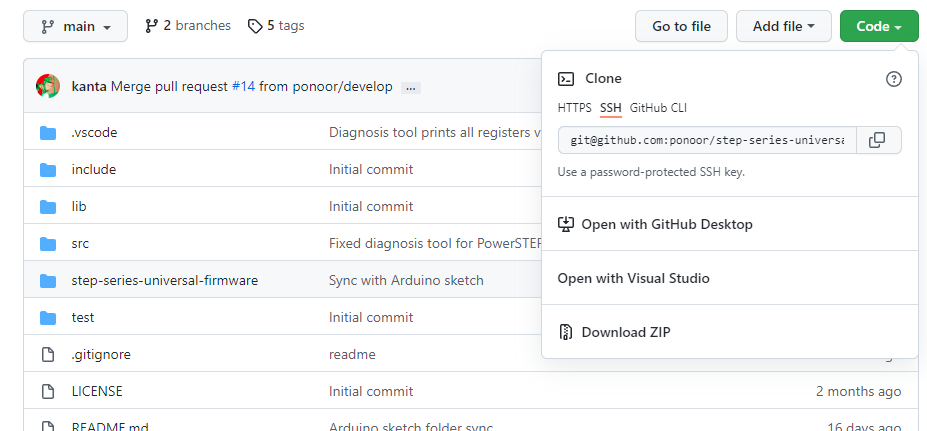
The latest firmware version can be viewed at this GitHub Releases page. The code itself lives in this GitHub Repository where it can be downloaded for use throughout this page.
Compiling with PlatformIO
The firmware is primarily developed using PlatformIO. Each repository has a dedicated directory you can open using the "Open Project" menu of PlatformIO. All dependencies are automatically installed when you compile the project for the first-time.
This firmware will work for all step-series but you need to specify the target board before you compile it. Please refer to "Set the compile target" below.
Compiling with ArduinoIDE
Using the Arduino IDE requires a bit of manual setup than PlatformIO. To begin, the Arduino Zero board must be first installed in the IDE using the Board Manager. This Quickstart Page is a great resource for how to do this procedure.
Next, the following libraries need to be installed. Here's a page describing how to install libraries.
Installing libraries
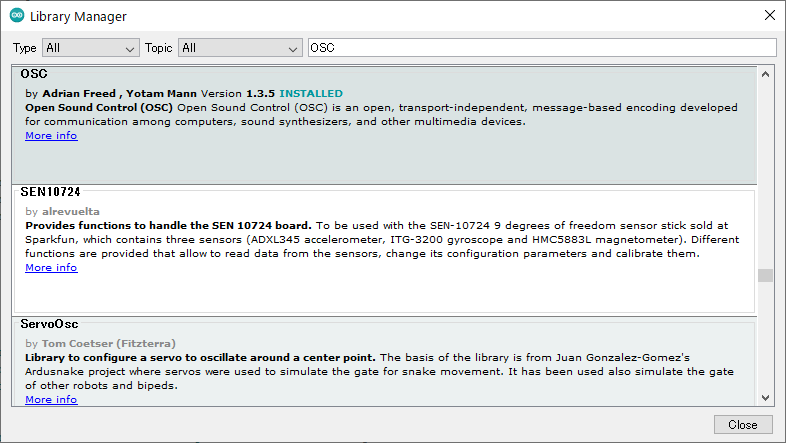
Install the following libraries from the library manager in the Arduino IDE. You can find a detailed guide to install library here.
- OSC Library
- ArduinoJSON
- Adafruit SleepyDog Arduino Library
- In case of STEP400/STEP100: Ponoor PowerSTEP01 Library
- In case of STEP800/STEP200: Ponoor L6470 Library
Note for the OSC library
There many OSC libraries that may be listed in the Library Manager. This project uses the library made by CNMAT and is listed as OSC. Note that the creators are listed as Adrian Freed and Yotam Mann, not CNMAT.
Get the firmware
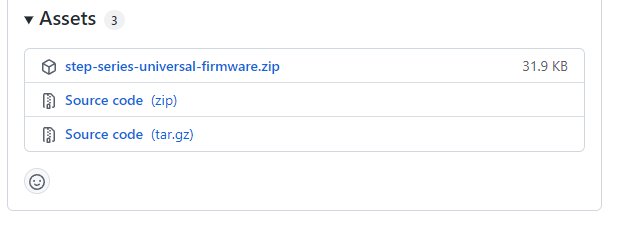
The Arduino sketch is available from here; https://github.com/ponoor/step-series-universal-firmware/releases
See the "Assets" of the latest Release and download step-series-universal-firmware.zip. These zip files only contain required files to compile with Arduino IDE.
Open the .ino file from Arduino IDE.
Set the compile target
There is a list of boards at the beginning of boardsDef.h. Remove the comment // for the target you want to compile for.
For example, a code for STEP400 will look like this;
// Products
#define STEP400_R1
// #define STEP800_R1

// X-Nucleos
// #define STEP100_R1 // X-NUCLEO-IHM03A1, PowerSTEP01 x1
// #define STEP200_R1 // X-NUCLEO-IHM02A1, L6470 x2
Compile and upload
From "Tools" -> "Boards" select "Arduino Zero (Native USB port)" and compile the sketch.
If the process is completed without errors, proceed to uploading. Connect your PC and the Arduino with an USB, then select the serial port from "Tools" -> "Port" then upload it.
Notes for uploading the Arduino sketch
- As a safety precaution, the electromagnetic brake should be disconnected from the board. While uploading the firmware, defaults are sometimes reset which may lead to the load being held by the brake to be dropped.
- Connecting just the USB-C cable is not enough to power the motor driver chips on either board. So, while you can upload sketches and perform some basic commands on the board, no movement will be possible unless additional power is provided.
- Occasionally, the Arduino Zero may fail to write. In case this happens, try double-clicking the RESET switch and putting the board in bootloader mode. Then try uploading again. In this mode, the sketch will not boot and the LED
L